Glitter adds sparkle and shine to any craft project or decoration. It could be a little messy and tricky to work with. One of the best ways to apply glitter is by using glue as an adhesive. Read on and you’ll learn how to attach glitter with glue.
We’re actually going to be showing you how to apply glitter with glue to many things—Such as ornaments, glass projects, and vases. Skip to the section that you’ll find most useful for your own project!
The Best Glue for Glitter
Before we get started, you’re going to need some glue. We would recommend BEACON’s Glitter-It Glue. This glue lets you add glitter to ornaments, glass, and vases. It’s clean, effective, and easy to use.\ \ It’s non-toxic, so you don’t have to worry about endangering any kids or pets with it. Kids can easily use it for their next craft project!
It also dries clear and fast. Quickly show off your creations to everyone you know without fear that the glue is going to stick out like a sore thumb.
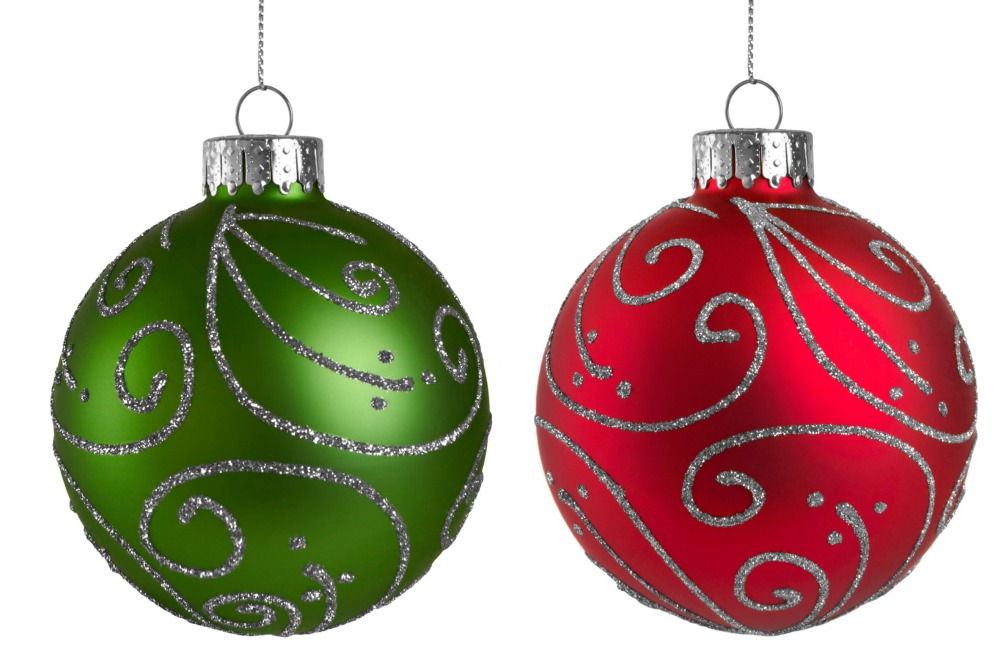
How to Apply Glitter to Ornaments
Step 1: Select the Proper Glitter
It’s crucial to pick the proper kind of glitter when putting glitter on ornaments. Look for a small amount of holographic glitter that will shimmer beautifully when the light hits it. Larger glitters should be avoided because they could be overly heavy and challenging to apply.
Step 2: Prepare the decorations.
Make sure the decorations are clean and dry before you begin applying the glitter. If you’re using ornaments from the store, you might want to spray paint them lightly beforehand to establish a base color. This will improve the glitter’s adhesion and give the ornaments a more unified appearance.
Step 3: Glue the surface.
Apply the glue with a thin brush or small drops. Make sure to cover the entire surface of the area that you want to put glitter on.
Step 4: Add the Glitter
Glitter should be added to the adhesive while it is still wet. To disperse the glitter evenly, use a shaker or a small container. Use a single color of glitter or a combination of hues for a more unified appearance.
Step 5: Tap Off the Excess
Glitter should be applied over the glued surface, then the excess should be carefully tapped off. Any stray glitter flakes can be gently brushed away with a little toothbrush or a piece of paper.
Step 6: Let the Glue Dry
Before touching the decorations, let the adhesive entirely cure. Depending on the glue you’re using, this could take a few minutes to a few hours. Your sparkly ornaments will be prepared to hang on the tree after the adhesive has dried.
How to Apply Glitter to Vases
Step 1: Choose the Right Glitter
It’s key to pick the proper kind of glitter when adding glitter to vases. Look for a small amount of holographic glitter that will shimmer beautifully when the light hits it. Larger glitters should be avoided because they could be overly heavy and challenging to apply. You should also think about the vase’s size and shape, as well as the overall style you want to create.
Step 2: Prepare the Vase
Before you start applying the glitter, make sure the vase is clean and dry.
Step 3: Apply the Glue
Apply a thin layer of glue to the area where you wish to attach the glitter using a small paintbrush or a toothpick. Avoid using too much glue as it may cause the glitter to seem clumpy. Use a spray adhesive if the vase you’re dealing with is extremely large or has an unusual form for easy application.
Step 4: Add the Glitter
While the glue is still wet, sprinkle the glitter over the glued area. You can use a small container or a shaker to evenly distribute the glitter. If you want a more cohesive look, try using a single color of glitter or a blend of colors.
Step 5: Tap Off the Excess
Once you’ve covered the glued area with glitter, gently tap off the excess. You can use a small paintbrush or a piece of paper to gently brush away any stray bits of glitter.
Step 6: Let the Glue Dry
Allow the glue to dry completely before handling the vase. This can take anywhere from a few minutes to a few hours, depending on the type of glue you’re using. Once the glue is dry, your vase will be ready to display.
How to Apply Glitter to Glass
Step 1: Choose the Right Glitter
It’s crucial to pick the proper kind of glitter when adding glitter to glass. Look for a small amount of holographic glitter that will shimmer beautifully when the light hits it. Larger glitters should be avoided because they could be overly heavy and challenging to apply. The size and shape of your glass object, as well as the general aesthetic you’re going for, should also be taken into account.
Step 2: Prepare the Glass
Before you start applying the glitter, make sure the glass is clean and dry. If you’re working with an old jar or vase that has a lot of dirt or grime, you may want to give it a thorough cleaning before you start.
Step 3: Apply the Glue
Using a small paintbrush or a toothpick, apply a thin layer of glue to the area where you want to attach the glitter. Be careful not to use too much glue, as it can make the glitter look clumpy. If you’re working with a particularly large or irregularly shaped glass item, you may want to use a spray adhesive for easier application.
Step 4: Add the Glitter
Glitter should be added to the adhesive while it is still wet. To disperse the glitter evenly, use a shaker or a small container. Use a single color of glitter or a combination of hues for a more unified appearance.
Step 5: Tap Off the Excess
Once you’ve covered the glued area with glitter, gently tap off the excess. You can use a small paintbrush or a piece of paper to gently brush away any stray bits of glitter.
Step 6: Let the Glue Dry
Allow the glue to dry completely before handling the glass item. This can take anywhere from a few minutes to a few hours, depending on the type of glue you’re using. Once the glue is dry, your glass item will be ready to display.