Quilting is a creative and peaceful hobby that allows you to create your own cozy blankets and decorations. The hobby allows people to express themselves and create art that’s practical and helpful. Quilts are a great way to decorate the home, show someone you care about them, or simply express yourself and relieve stress.
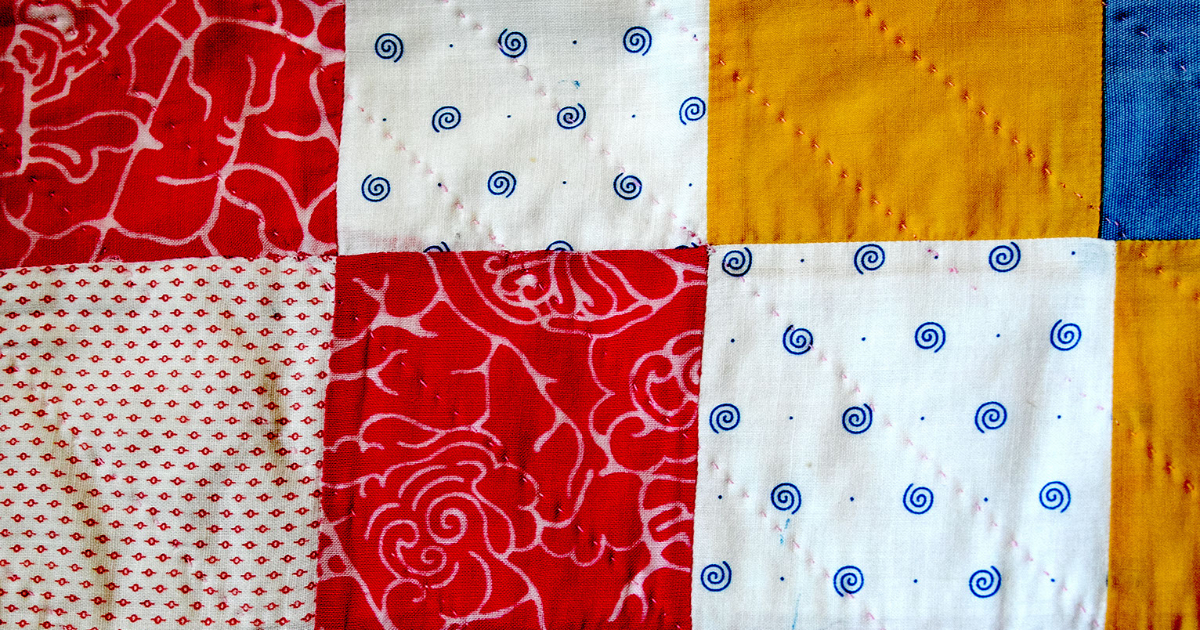
Quilting is done by attaching pieces of fabric together. Expression comes from the fact that you can design your own quilts by cutting, combining different fabrics, and using your imagination to do whatever else you’d like.
If you’re interested in becoming a quilter, then read on. This is a beginner’s guide to quilting. You’ll learn everything you need to know as we show you how to start quilting.
Gather Supplies
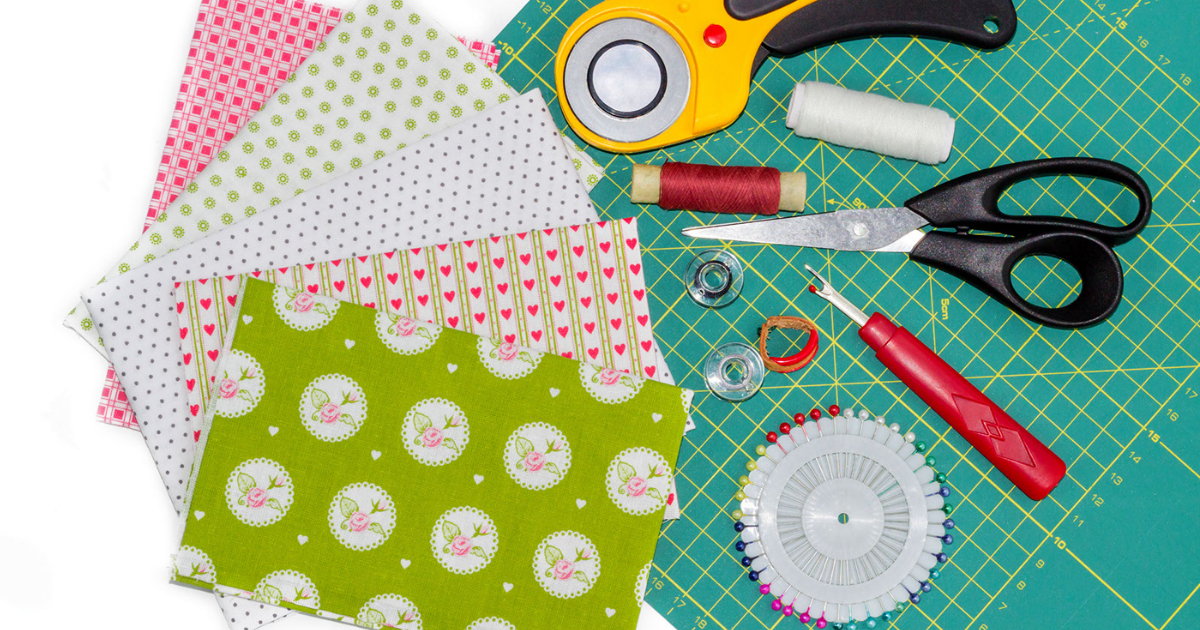
Before you create your first masterpiece, you’re going to want to gather some supplies. Keep in mind that you shouldn’t be too ambitious for your first project. Try to make a baby’s blanket or a decoral quilt that you can hang in your house somewhere. Here are some supplies you’re going to need:
- Fabric: You’re going to need fabric for the top of the quilt and for the backing and batting as well. Choose a fabric that you think will complement the quilt you have in your mind. If you’re going to use this as a blanket, try to pick something warm and cozy.
- Batting: Batting is a layer of material that is sandwiched between the top and bottom layers of a quilt. It’s usually made of cotton, polyester, or wool. It can add a feeling of softness and warmth to the quilt.
- Sewing tools: Either a needle with some thread or a sewing machine. A machine would make the process a lot easier and faster, but you can hand sew your quilt if you prefer that. If you’re hand sewing, then you’ll need a quilting needle with a large eye and a long, sharp point
- Thread: Quilting thread needs to be able to hold layers of fabric together. That’s why the thread is typically heavier and stronger than typical sewing thread. Choose an appropriate thread for the pattern in your mind.
- Basting glue: Glue can help you keep things in place until you have the chance to sew everything correctly. You can glue fabric together about an inch or two away from the intended sewing spot and this’ll ensure that nothing gets ruined during your quilting process. Click here for the best basting glue for quilters! This non-toxic glue washes away and doesn’t hurt the final product at all.
- Scissors: A good pair of scissors will be needed to cut fabric and thread. More advanced quilters have rotary cutters that can cut fabric into precise shapes. You won’t need a cutter for your first few quilts.
Instead of glue, you could use pins to hold fabric in place while creating. However, these pins could be messy to deal with as you have to go back and collect them instead of just using glue. Quilting rulers are also a helpful tool but they are not necessary. You could use a lightly colored marker to draw straight lines instead.
Gather all of your supplies before beginning so that you can get into the flow of creation.
Choose a Pattern
Choosing the right fabrics for your quilt could be intimidating. There are seemingly endless options. There are different colors, shapes, and designs on each fabric. If it would help, you can sketch the design that you want to create.
The right fabrics in coordination with the right pattern could make something special. Take a look at these two guides to see some great patterns for beginners. Here’s a Nine Patch Quilt Block pattern and here’s a Simple Strip pattern.
There are more sophisticated and advanced patterns to play with once you get familiar with the craft.
If you want to try something else, then look up some beginner-friendly quilting patterns. Keep in mind that some patterns require more fabric than others.
Cut Fabric
Now it’s time to cut your fabric into different shapes and sizes. Every pattern requires different cuts. Accurate cuts are important as they’ll make your quilt look smooth, clean, and organized.
Before cutting, wash and iron your fabric. This will remove dirt and wrinkles, making it easier to make accurate cuts.
You can use a marker and a ruler to draw straight lines on your fabric. Draw lightly. You could also use a rotary cutter and quilting rulers but these won’t be necessary for creating beginner-friendly patterns.
Ensure that your measurements are correct. Make clean, precise cuts. Follow the lines you drew or follow the quilting ruler.
Piece the Quilt Top
Piecing is the process of sewing small pieces of fabric together in order to create a larger piece. This step will determine the overall look and feel of your quilt.
You can either hand sew or use a sewing machine for this step.
A seam allowance is the distance between the edge of the fabric and the stitches. It’s important for accuracy and stability. A consistent seam allowance will ensure that the pattern’s elements will be the same size and that the quilt top will be the correct size. It also allows you to make small adjustments if necessary.
A good seam allowance for beginners is a quarter-inch. Press your seams as you go so that they lie flat and smooth.
Adding Batting and Backing
Now that you’ve assembled your quilt top, you’re ready for the next step.
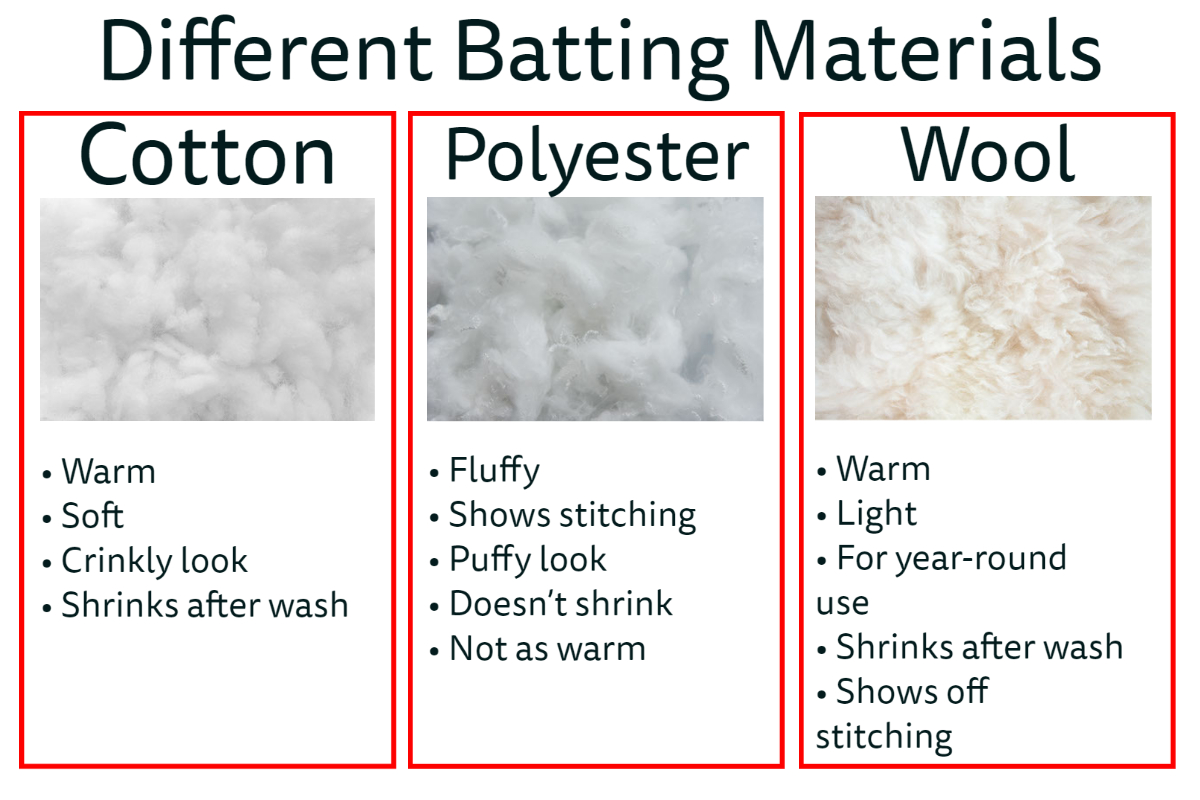
Batting, also known as wadding, is a layer of insulation that goes between the quilt top and the backing. You should already have the materials ready for this. As stated earlier, it’s usually made of cotton, polyester, or wool. It’ll make the quilt feel warm and cozy. Each type has its own characteristics. Let’s go over them here:
- Cotton: This material is great for a warm, soft batting. It provides a crinkly look after washing. It’ll give off a vintage look that’s ready to be used for cozy times.
- Polyester: This is a fluffier material. If you want a puffy look, then go with polyester. It’ll allow you to show off your stitching skills. It also doesn’t shrink or crinkle. However, it might not be as warm as other types of batting.
- Wool: This material has the warmth of cotton while being much lighter. It’s a great quilt for year-round use. It’s washable and shows off your stitching. It does shrink a bit after washing.
Now that you’ve decided on a material for batting, lay out your quilt top on a flat surface, right side up. Place the batting on top of the quilt top. Smooth it out to remove any wrinkles or bumps. Place the backing fabric on top of the batting, wrong side up. The backing should be larger than the quilt top and batting as it will be folded over the edges in order to create a finished edge.
Now you’ll want to glue the layers together with basting glue (or pin them in place) while you quilt them. This will keep everything in place while you’re putting things together.
Quilting the Layers Together
Once you have added the batting and backing, it’s time to finish the job by quilting the layers together. You can do this either by hand or by sewing machine.\ \ If you’re hand quilting, then you’ll need a quilter’s needle and thread. Start by tying a knot at the end of your thread and then work your way through the quilt.\ \ If you’re using a machine, then the process will be faster and easier.
Once you’re done with that, you’ll want to finish the edges of the quilt. This is done by adding a strip of fabric that is sewn to the edges of the quilt to cover the raw edges (also known as a binding). This will give the quilt a finished look. You can make your own binding or purchase a pre-made one.
Conclusion
Congrats! Your first quilt is now complete. Use it yourself, give it to someone, or hang up your artwork somewhere. You’ve put a lot of work into this quilt and it deserves to be used or seen!\ \ Quilting is a rewarding hobby that not only results in something that can be used, but it’s a way to express yourself and show off your personality. It might seem intimidating at first, but now that you’ve learned all about cutting, piecing, attaching backing and backing, and quilting everything together—you’re ready to move on to more advanced techniques and patterns.
The quilting community welcomes you with open arms. Feel free to enroll in local classes, do more research online, participate in online forums, and post your creations on social media. The sky’s the limit with this hobby!