Jewelry making is a fun and rewarding hobby. It provides you with a creative outlet while letting you take your mind off of your responsibilities for a while. There are a lot of materials and techniques to master and you’re going to have to start somewhere.
It’s important to have the right tools and materials when starting out or you might not have everything you need. Nothing can ruin a project like not having the materials you need!
Read on and we’ll learn about 4 materials for jewelry making that every beginner needs. We’ll also cover some optional bonuses that can make this hobby a lot easier.
1. Pliers
Pliers are essential tools for jewelry making. They allow you to shape, bend, and cut the materials to your liking. Pliers are extensions of your hands in jewelry making.
Since you’re going to be spending a lot of time holding pliers, try to get some comfortable ones. They should be lightweight and their handles should be nice to hold.
There are many different types of pliers, but only three of them are absolutely essential.
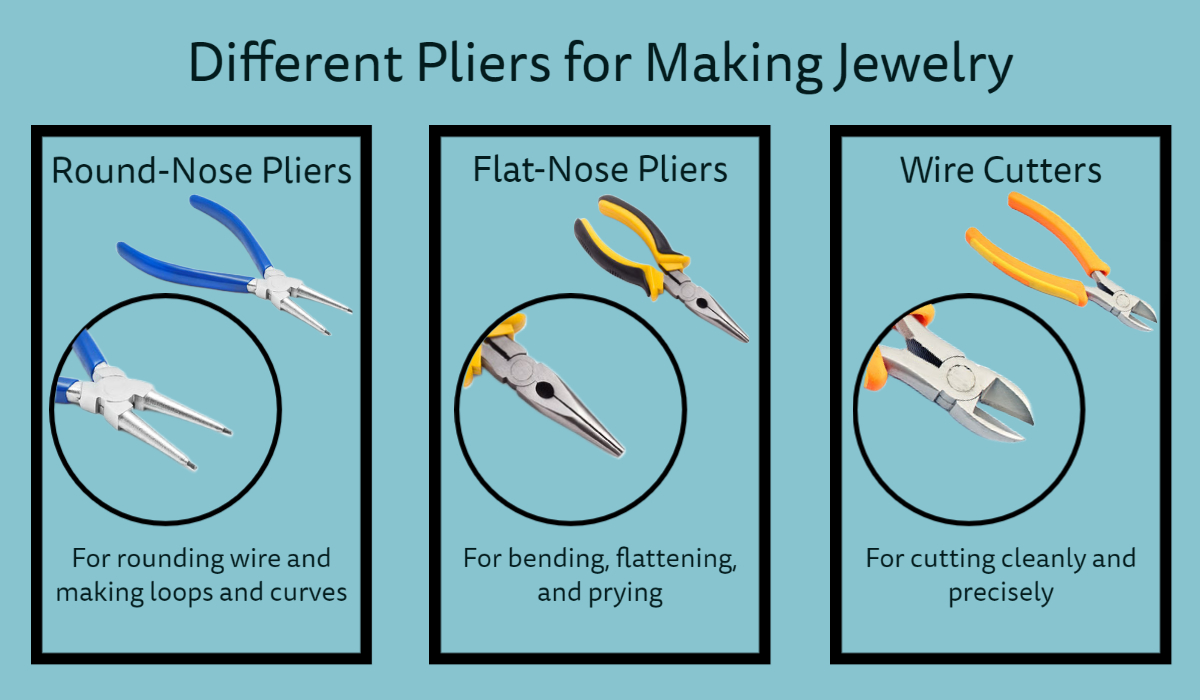
Round-Nose Pliers
Round-nose pliers are designed for rounding wire into smooth loops. They have skinny cone-shaped tips. These are useful as they let you wrap wire in different ways.
You’ll use these pliers for making loops and curves. They’re useful for making rings, designing the hooks on earrings, creating designs, and doing almost anything with wires.
Flat-Nose Pliers
These pliers have flat, parallel jaws that grip and hold onto small components. The jaws enable a strong grip.
You’ll mostly use these pliers for bending, flattening, and prying wire along with other small parts such as crimp beads and jump rings.
Wire Cutters
Wire cutters are designed to cut through wire and other thin materials. They have sharp jaws that leave clean, precise cuts without ruining the wire.
You’ll be cutting a lot of wires when making necklaces, bracelets, and earrings.
2. Wire
You’re going to be playing with a lot of wire in your jewelry making process. It’s going to be used for everything from stringing beads to making your own custom components.
Wire comes in all sorts of different colors, metals, sizes, and shapes.
Different Wire Metals
Copper and silver wire are the most common types of wire used in jewelry making. Rarer types of metals are gold and brass. There are a lot of other different types of wire that you can experiment with once you understand the basics.
Copper wire is easy to work with and is quite affordable. Sliver is of a higher-end but we would recommend starting off with wire.
Wire Gauge
Wire gauge (or size) is a measurement of its width in diameter. There are two different ways of determining wire size. The American Wire Gauge (commonly used in North America) and the Standard Wire Gauge (commonly used in Great Britain). Most other countries just measure wire size in millimeters.
The larger the gauge, the smaller the wire’s diameter.
A 24-gauge wire is best for beginners. It’s the sweet spot that’s just right. Not too thick to work with and not too thin and delicate.
One of the finest gauges (size 32), can be used for crochet, weaving, and even be used as sewing thread. On the opposite side of the spectrum (size 10) is great for making bracelets. It’s very thick and might even require heavy-duty jewelry making tools. Thinner gauges are easier to work with but they might not hold their shape over time. Thicker gauges are harder to work with.
Wire Shapes
There are four wire shapes. Circle, square, half-round, and twisted. Circle is best for beginners as it’s the easiest to work with and understand.
3. Beads
Beads are essential in many jewelry making projects. They could provide the look and feel of so many projects.
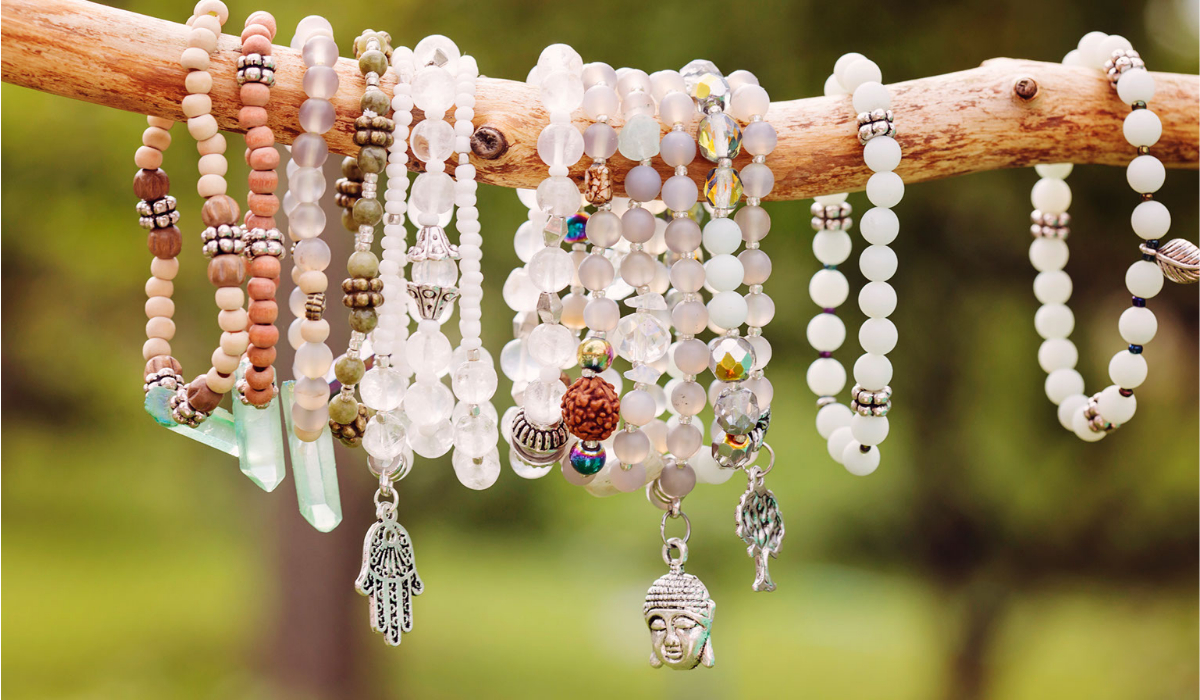
Beads come in a variety of shapes, sizes, colors, and materials.
The most common materials for beads include glass, crystal, pearls, and stones. Glass beads are popular for their shine but they might be fragile. Crystal beads leave a touch of sparkle wherever you put them but they are a bit pricey. Pearls and stones tend to be more durable and expensive. Pick the right one for your project but have some spare beads around just in case you want to experiment.
The size of beads will have a direct affect on the look and feel of your piece. Larger beads will be easier to string. Smaller beads can be time-consuming but can lead to more flexible designs.
4. Findings
Findings allow you to connect and finish off your jewelry pieces. Here are common findings:
- Jump rings are circular rings that can connect components and add things onto your jewelry. They can be open and closed with pliers.
- Lobster clasps are hinged bars commonly used for necklaces and bracelets. They have a spring-loaded latch that secures the piece shut.
- Earring hooks are the loop on top of earrings. They have a hook at the bottom for attaching the earring itself to your ear.
- Head pins are straight pins with a flat head on one end. They attach beads and other parts to your jewelry.
Pick the appropriate finding for your project.
Optional Tool
If you want to go the extra mile, then consider this extra optional tool. It’s not necessary for making jewelry, but it’ll definitely make life a lot easier on you. It can make the process a lot smoother.
A vise is a tool that goes on a table and securely holds things in place for you. In jewelry making, this will allow you to make fine adjustments and focus on technique more.
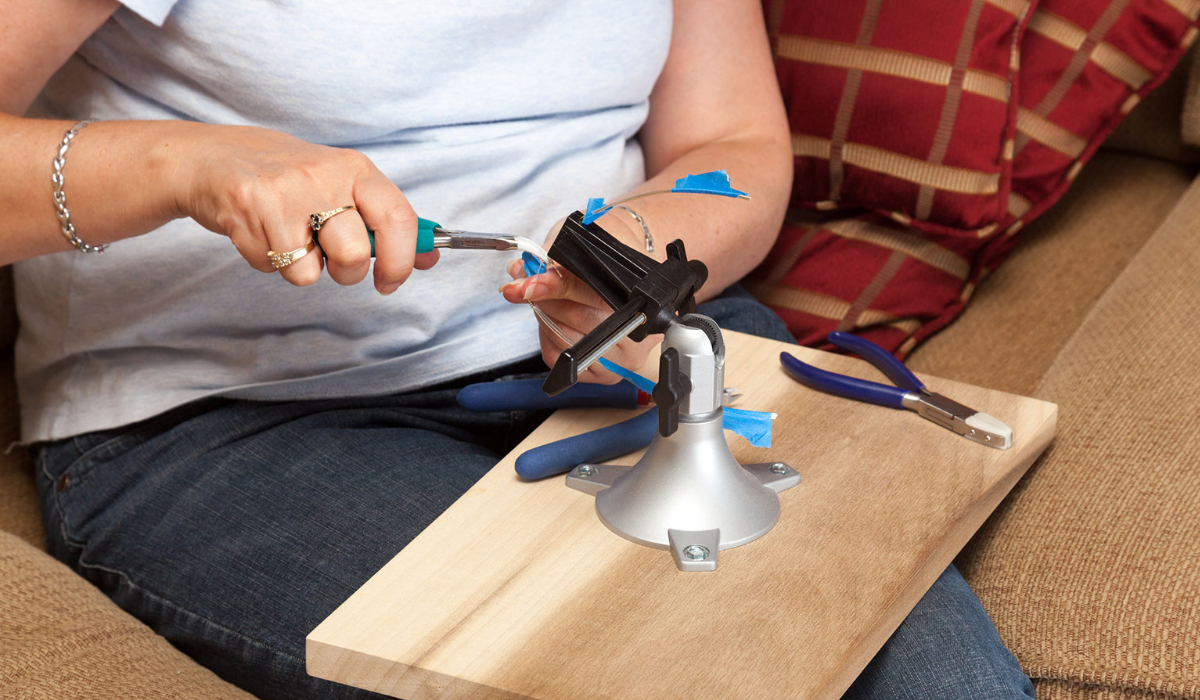
Click here for a vise that will securely hold your crafts in place.
Conclusion
Jewelry making is a rewarding hobby that allows you to unleash your creativity and make beautiful works of art that can be appreciated by everyone. There’s a lot that goes into the craft and we’ve barely scratched the surface.
Every jeweler needs the perfect toolkit and you have the chance to step off on the right foot. You know all about pliers, wire, beads, and findings.
These materials are a great starting point. As you learn more and explore different techniques, your toolkit will grow. These materials will always prove to be useful to you.
Don’t be afraid to dive into it and start creating! With the right materials and a little bit of practice, you’ll be shocked at what you’re capable of.