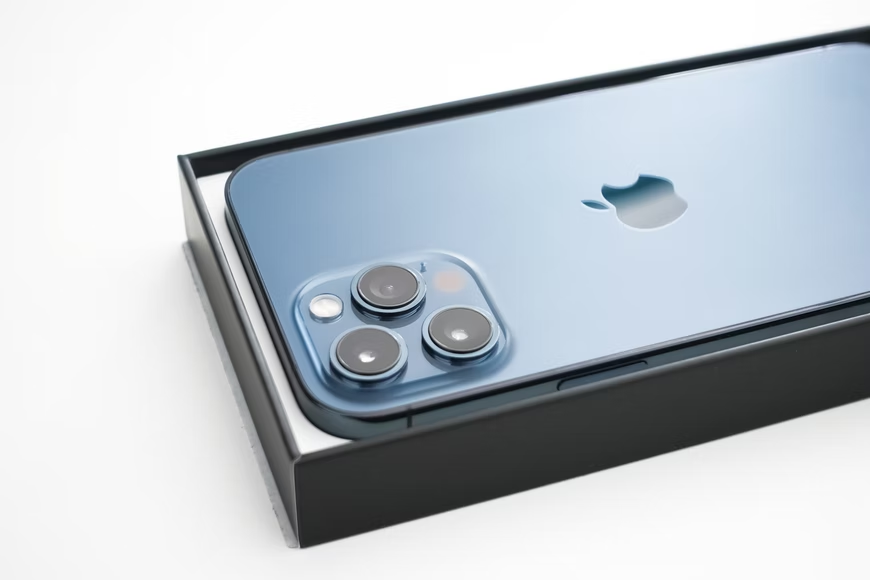
Taking good photos is important for many things. Making a good impression on social media, getting the perfect shot for school/work—or capturing beautiful memories to look back on.
But there’s a lot that goes into getting the shot.
The iPhone is a powerful piece of technology that many of us carry around in our pockets. It allows us to take professional-looking photos even if we’re not professional photographers.
So today, we’re going to go over iPhone camera tips that’ll help you take better photos.
1. Clean Your Lens
Okay, this one’s a no-brainer. But some people don’t regularly clean their lenses and it shows.
There are different ways to go about this: some photographers recommend using a Q-tip with rubbing alcohol on it. However, Apple says that you should avoid cleaning products and compressed air.
The Apple support site recommends using a soft, slightly damp, lint-free cloth with warm soapy water.
It’s your camera, though. See which one gives you a better result.

Even if you clean it regularly, your camera goes through the elements when you’re out and about. To mitigate any outdoor dust and pollen, you can try keeping your phone in a case that protects the camera. When you’re ready to take a photo, quickly take it out of the case until you’re done. Or you can carry around a microfiber cloth in your wallet/bag to clean the camera if you ever want to snap a pic.
2. Keep Lighting in Mind
One of the first things people realize when taking a photo is how important lighting is.
Your iPhone lets you adjust the brightness right from the camera itself. Tap on the screen and a little sun icon should show up. You can slide the brightness up or down.
Never place the subject of your photo in front of a window. Instead, place your subject in the light of a window. This will look much better.
3. Follow the Rule of Thirds
Photographers follow rules to snap a good picture. These rules are like photography commandments.

One of them is the rule of thirds. It’s probably the easiest one for amateurs to learn and utilize. Apple even built a tool into your camera to help you with this!
Use the grid feature to follow the rule of thirds.
To use the grid, go to settings. Click on Camera, Composition, then Grid. You should see a grid making nine squares across the screen.
People think that they’re supposed to put the subject of their photo in the middle of the center square, but this just isn’t true.
You’re supposed to place your subject in the middle of one of the lines, most commonly the left or right vertical line.
4. Use HDR Mode (Sometimes)
HDR mode, or high-dynamic-range mode, is a tool that helps with lighting adjustments and details.
Your camera collects multiple photos at different exposure levels and combines them to make one extremely detailed photo. If you’re taking a photo of a sunset or a neon sign, then turning on HDR mode could make the photo look absolutely mesmerizing. If you’re taking a photo of something vibrant, then it’s best to leave it off.
Go to Settings, Camera, then Auto HDR to turn this on or off.
5. Use Bursts
If you hold down the button while taking a photo, then it’ll keep taking photos. This is called a burst. Bursts are helpful when trying to take an action shot or get the perfect pose.
6. Keep the End in Mind
If you’re trying to take a photo for Instagram, then keep the aspect ratio in mind. If you’re trying to look back on the beautiful landscape then take the photo in landscape mode.
7. Avoid Using the Flash
The flash on your iPhone camera isn’t too good. It’s just an LED light that comes from an awkward angle.
Instead, try playing with the brightness and contrast on your camera. Or use Night Mode. Try to avoid using that LED light on your phone unless you’re using it as a flashlight. A separate light source is always better than using the flash.
8. Keep the Camera Steady
This one’s pretty obvious. But there are a few tricks to help you hold your camera steady when taking a photo.
When you take a picture with your iPhone camera, you have to move your thumb to the button. This can make the phone slightly unsteady, but that shows in your pictures.
When taking a photo, every little movement matters and affects the final picture. Apple built in a few solutions.
One of these is the option to snap a pic with a volume button. It might be helpful or even worse, depending on the person. Experiment with using the button on the touch screen and the volume button.
But the best way to keep your camera steady is to use the countdown timer. Set your timer to a second or two to take the most stable photos. When you press the button, you have a bit of time to readjust or hold absolutely still.
This extra effort will show in the final product when everything is crisp and clear.
9. Use Accessories
There are tools out there that can help you take the best photos on your iPhone.
We recommend using a tripod and carrying around an extra light if you really want to get a good photo.
This tripod could help you hold a steady camera while you take photos. Check it out here on Amazon.
And you should carry around a photography light if you’re going to take pics in the dark. Check out this one on Amazon.
Final Thoughts
There’s a lot that goes into taking a great photo. Pictures help us remember things that we want to hold on to forever.
These iPhone camera tips should help you take better photos that will impress everyone you know.