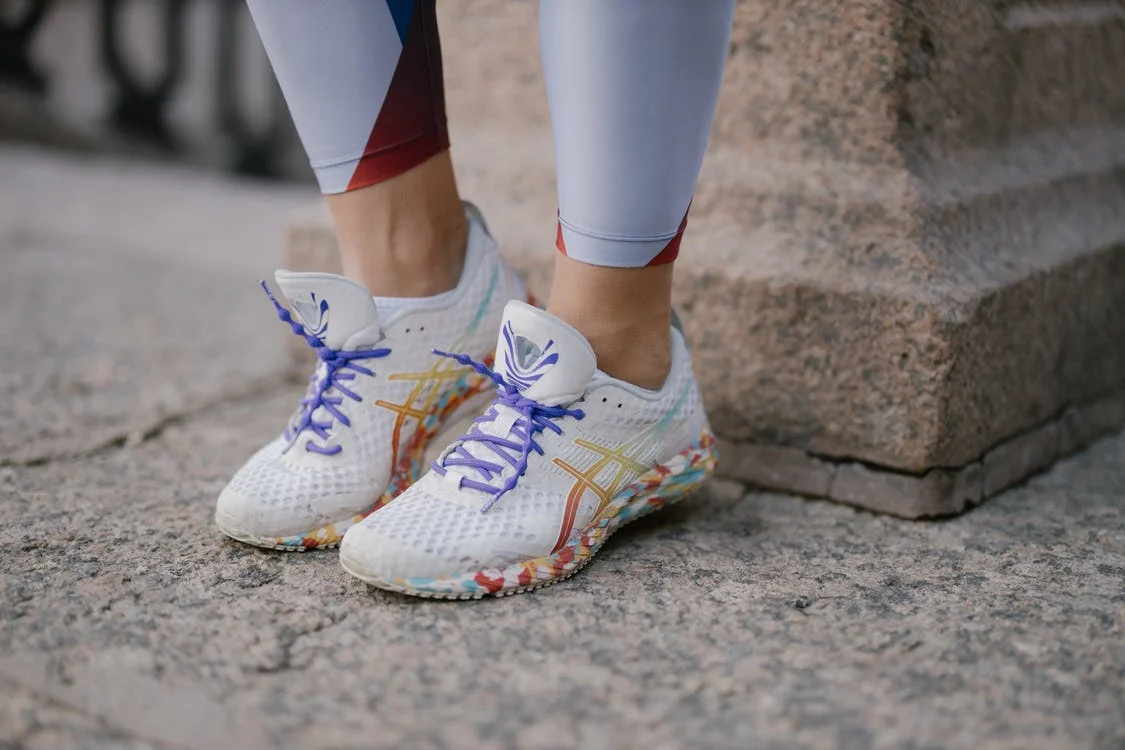
Fashion trends can often seem exhausting. Keeping up with the world of fashion can become overwhelming at times. But every once in a while, a trend comes around that isn’t going anywhere any time soon. A recent trend that’s popped up is painting shoes.
Customizing shoes is a great way to express yourself, your interests, and your style. But almost nobody knows how to paint shoes correctly. Read on to learn how to correctly paint your shoes and stun everyone around you (including yourself!).
Materials You’ll Need
Painting your shoes is a much cheaper option than buying custom ones from the manufacturer. But you’ll still need to invest in some materials. The materials you’ll need aren’t too pricey and you can always use them again for future projects.
If you want a white, brand-name sneaker, we recommend getting a canvas shoe from Converse or Nike on Amazon.
Click here to check out the Converse pair on Amazon. These shoes have a black stripe on the midsole and around the ankle to add a bit of flair to the design.
Click here to check out the Nike shoes on Amazon. These white Air Force 1’s have been in style for a long time and that isn’t changing anytime soon. Everything on the sneaker is white, so that gives you the most creative freedom. The shoes even have the iconic Swoosh.
If these shoes are a bit out of your budget, then you can get any pair of white shoes from Walmart and the finished result should still look fantastic.
You’ll also need:
- Acrylic primer. This primer from Mont Marte works great
- Acrylic paint. This paint set from Golden is a great option. Many colors are included and the paint is high-quality.
- Acrylic paint thinner. If you’d like to airbrush or thin your paint. Check one out here.
- Pencil.
- A Sharpie.
- Brush pens. For more detailed work and fine lines. This set is the best for the job.
- An acrylic paint brush. We made a guide on the best acrylic paintbrush sets. If you’re looking for a simple set, check out this one.
- Stuffing material. Something to put inside the shoes while you work on the exterior. Socks, newspapers, or a plastic bag should work fine.
- Painter’s tape. Vinyl tape should work fine, too.
- Acrylic finisher. To give the paint a matte finish. This should work perfectly.
1. Set Up Your Workspace
Before you begin painting your shoes, you should gather all your materials and set up your workspace.
Organize your supplies and keep them somewhere nearby. You can lay out newspapers or old shoe boxes to keep the area clean. Keep a jar of water around so that you can clean your paintbrushes if you want to switch colors.
Make sure that you’re working on a solid, stable surface. Precision is key when working with your shoes and you don’t want a rocky table to mess up your work.
2. Sketch Out a Design
Creating a sketch of what you want is essential. You want to capture your image perfectly and sketching it out will help you see your plan in action. It also allows you to make any tweaks to your project before you do anything permanent.
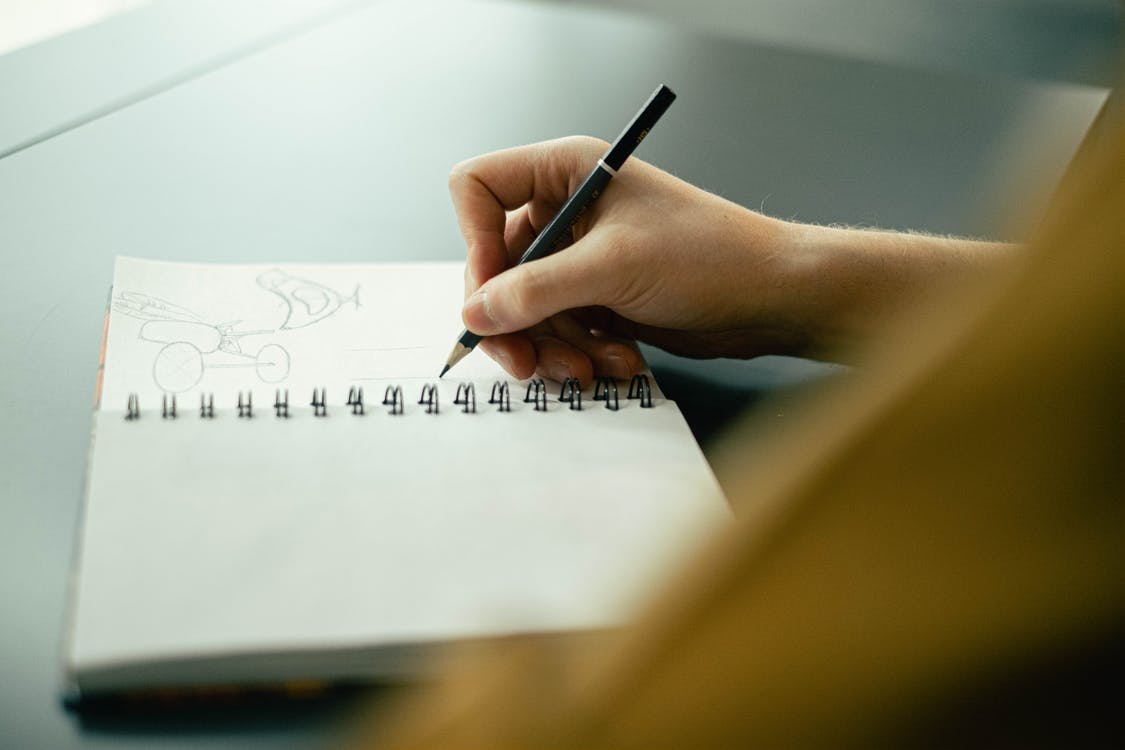
Try molding a piece of paper to the shoe’s shape. Every shoe is a different, unique canvas. Then you can draw on the paper and put it back on the shoe for a rough idea of where everything can and should land.
3. Prepare the Shoes
Preparing your shoes for painting takes a bit of work but it’s absolutely essential. Don’t start painting on your shoes right away or else the end product will suffer.
First, you’re going to take off all the laces. Keep them somewhere safe. If you want custom shoelaces, then do that separately from the shoes.
Next, tape off any parts of the shoe you don’t want to paint. Like the insoles or the Nike Swoosh if you want to leave that unpainted. It’s important to tape it off because you might accidentally hit it with your paintbrush.
Then you’re going to clean the shoe. Use a cloth or sponge to gently rub dirt off.
After that, you’re going to stuff the shoe with socks or newspapers or whatever you have laying around. Just stuff it to ensure it doesn’t jostle around during the painting process.
Finally, you’re going to apply acrylic paint primer.
4. Pencil Your Design On the Shoes
Carefully draw your design in on the shoes with a pencil. Use light strokes. The sketch from earlier should be used as a reference.
If you’d like to use your Sharpie to darken strokes, then feel free to do so only after you’ve finished the rough outline with a pencil.
5. Paint Your Shoes
Now it’s time for the fun part! Use your paintbrushes to apply paint in thin layers. Each layer should dry before the next one is applied. If you have a hair dryer, use it to blow the paint. Take your time and don’t rush or else the finish will crack and peel.
Paint in the direction as the shoe’s bend. Keep strokes straight and clean. If any bubbles come up, pop them with something sharp.
If you want to use gel pens or a Sharpie to add some fine details then do it when the paint is all done. It’ll give the lines a better pop and will add to the overall effect.
If you’re going to use different colors, then make sure to wet your paintbrush in a jar of water before switching colors. Use two jars of water if you want to ensure correct coloration.
6. Protect Your Work
You’re done painting your shoes! They’re almost ready to be worn out in the real world and make an impression.
Unfortunately, your painted shoes aren’t going to last very long in the outside world. That’s why they need some form of protection.
Let the paint dry completely. Then you can apply acrylic paint thinner. Apply a waterbase sealer if you think they might come in contact with water.
Don’t put too much product on the painted shoes. This might ruin the look.
Final Thoughts
Now you know how to paint your shoes! Painting your shoes is a fun, creative, and affordable activity.
If you ever want to make another pair, then you always have the materials around to try again!